
Step1: How to Configure Print Server to Connect to the Local Network (XZ110W)
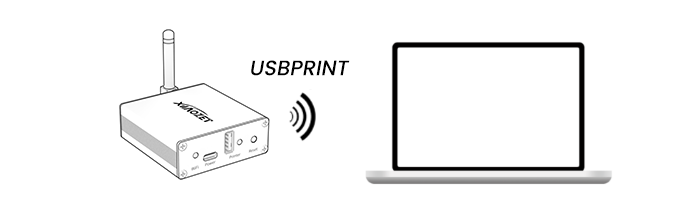
Wireless Network Connection
The process can be completed via a computer or a smartphone.
(Note:Here are the network configuration steps for when the print server is in its initial state. If you can not find “USBRPRINT-xxxx”,please press the reset button for 5s to restore initial settings.)
- Locate and connect to the Wi-Fi network named “USBRPRINT-xxxx” from your computer’s available networks list.
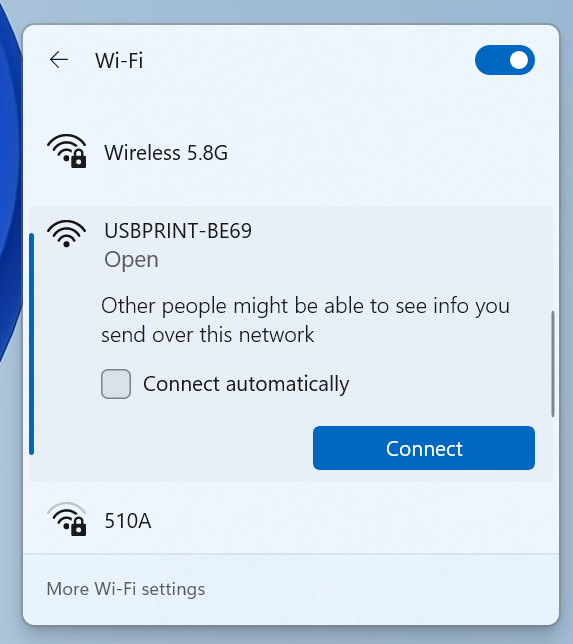
- Once you connect to USBServer_Setup, a network setup page will automatically pop up on your computer or phone.
- Note: If the network setup page did not automatically pop up, Please enter 192.168.4.1 into your browser..
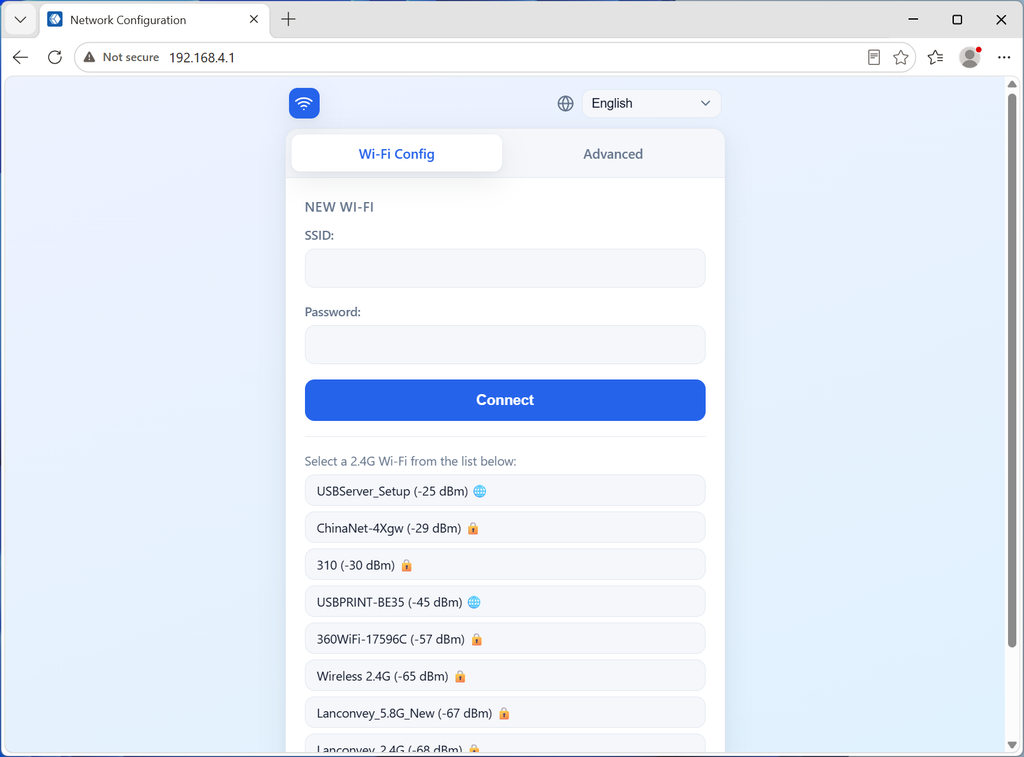
- Simply select your 2.4G Wi-Fi and enter your Wi-Fi password. The printer server will then automatically configure the Wi-Fi parameters.
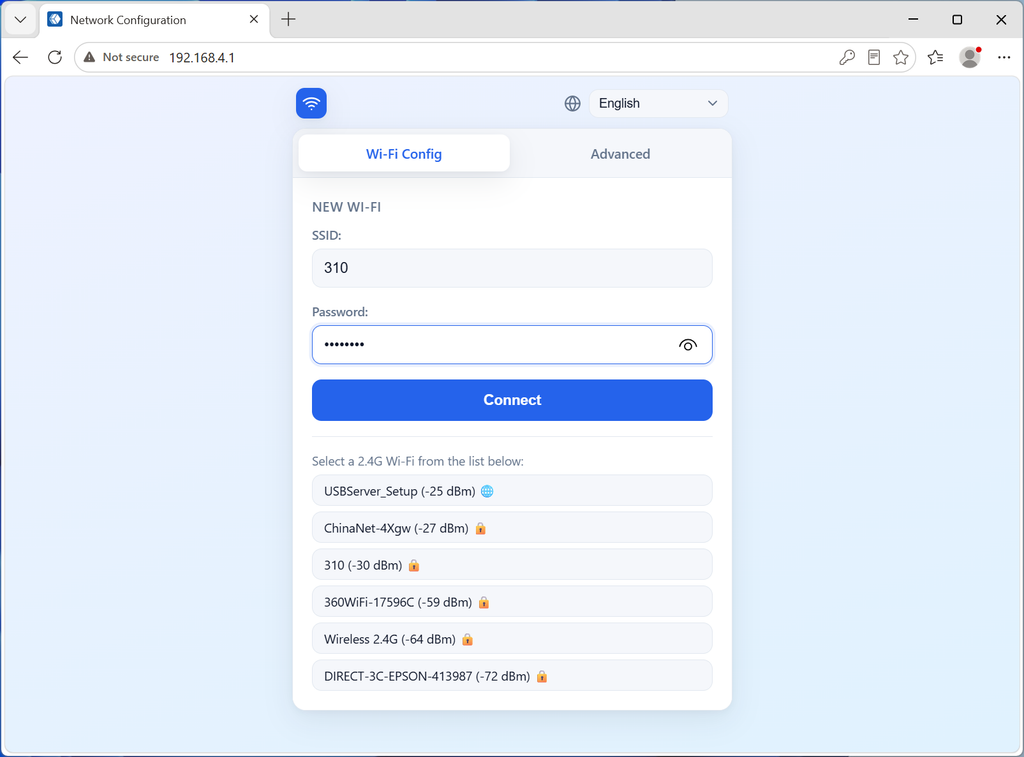
- Wait for about 1 minute, the page will indicate “Configuration successful”.
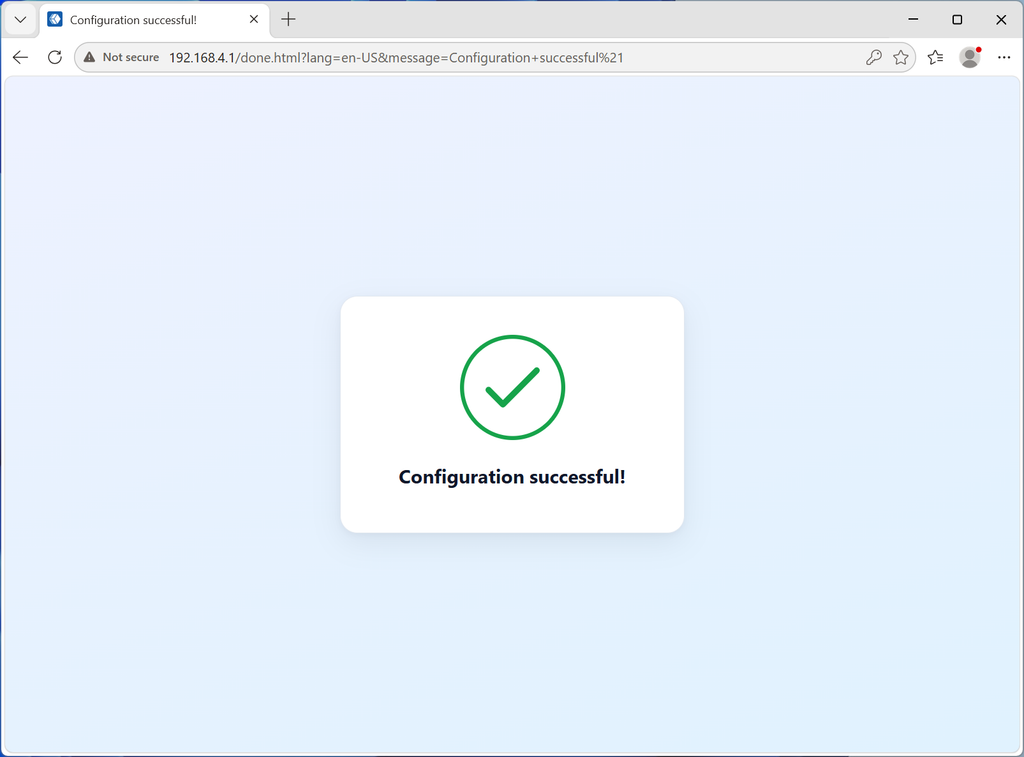
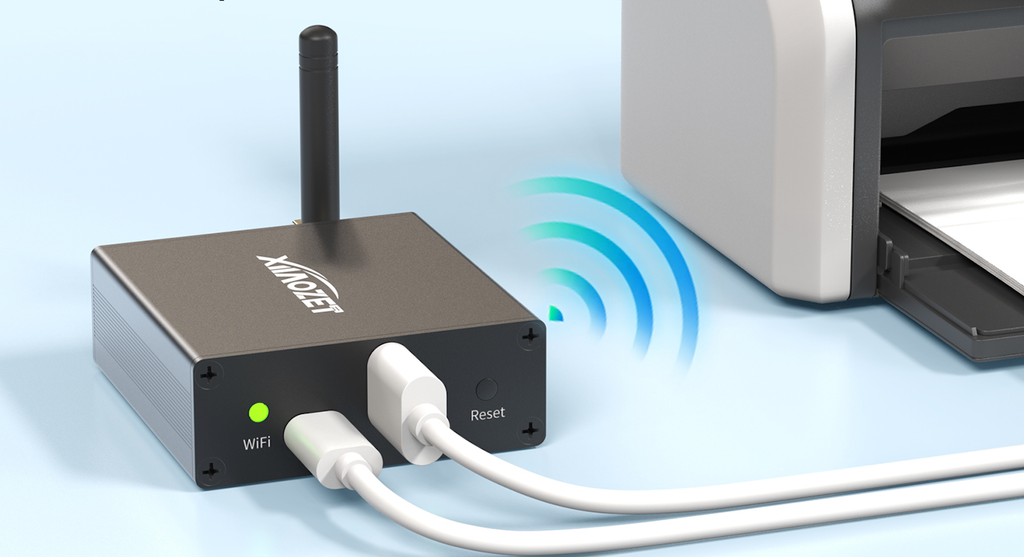
- When the Wi-Fi indicator turns green, it indicates that the configuration was successful.
Net Step: Add your printer to the computer
After completing the network configuration, please add the printer on your computer. Refer to the tutorial on adding printer via our installer.
Net Step: Printing from Mobile Phone
After completing the network configuration, please download our app to bind the print sever. Refer to the tutorial on printing from mobile phone.